Quickstart 4: GitOps
Warning
This page is in an alpha stage. Content may be modified anytime.
So far, you’ve seen how to interact with the Kubernetes cluster manually, using your own personal account.
This is all good and well, but you may want to do things a bit differently.
Indeed, manual actions are hard to track : if a deployment has failed, how do you know when and how it was modified ?
With Helm, you may have versioned in Git your chart and its values, but what if the manual helm upgrade was using a local-only test version, or an outdated one ?
GitOps aims at solving these issues : everything, including the launch of deployment commands must be logged, whether in Git, or in a pipelines history. This also helps with reproducibility : your deployment workflow is written in a file, and not a list of command you must memorize and type yourself.
ServiceAccount
To automatically interact with a Kubernetes cluster from a CD tool, one needs to authentify to WoK through a ServiceAccount.
Using the CLI
Once in the correct project (use oc project to switch), you will need to create the ServiceAccount using the following command :
Here, we name it quickstart-gitlab-ci, but you may change the name as you see fit.
Using the WebUI
The ServiceAccount creation requires the following snippet of YAML :
apiVersion: v1
kind: ServiceAccount
metadata:
  name: quickstart-gitlab-ci
  namespace: test-quickstart-serviceaccount
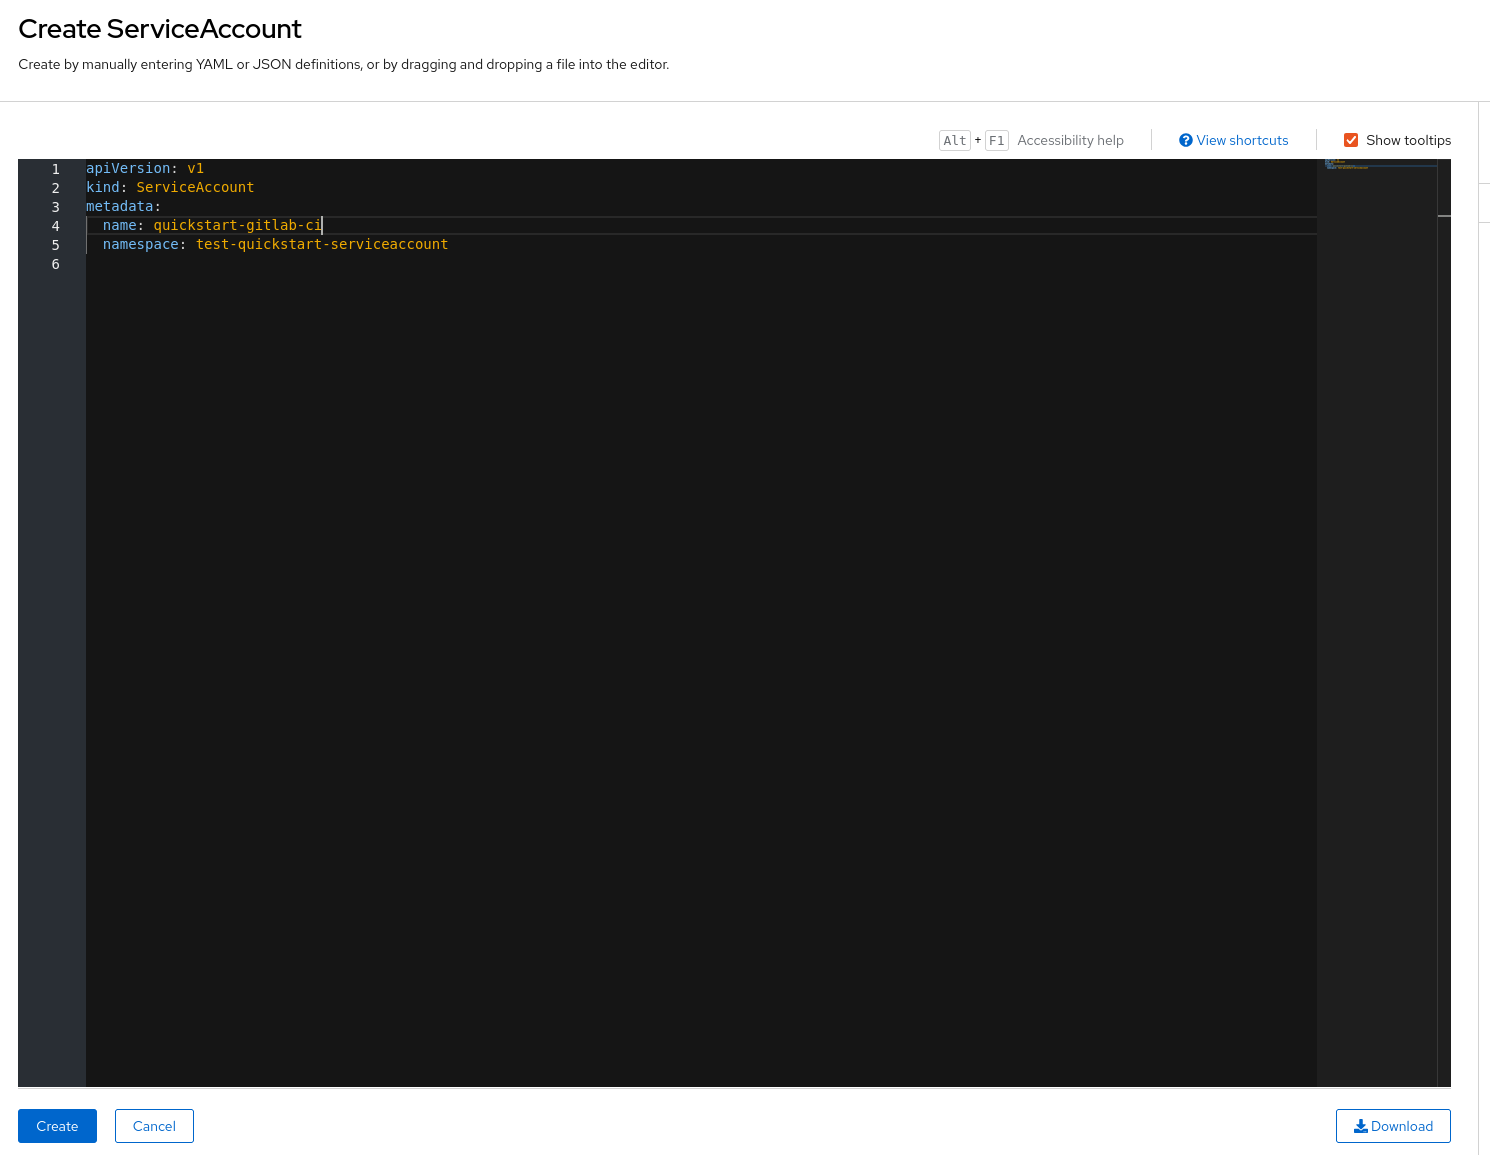
Here, we name it quickstart-gitlab-ci, but you may change the name as you see fit.
Access Token
When creating a ServiceAccount, a bound secret is made as well, named quickstart-gitlab-ci-dockercfg-xxxxx.
While this secret contains access tokens (in the form of a JWT), they are only temporary, with a one hour lifespan.
This makes them impractical for our current use.
Instead, you will need to create a long-lived secret.
Using the CLI
Create the following resource using either oc apply or oc create :
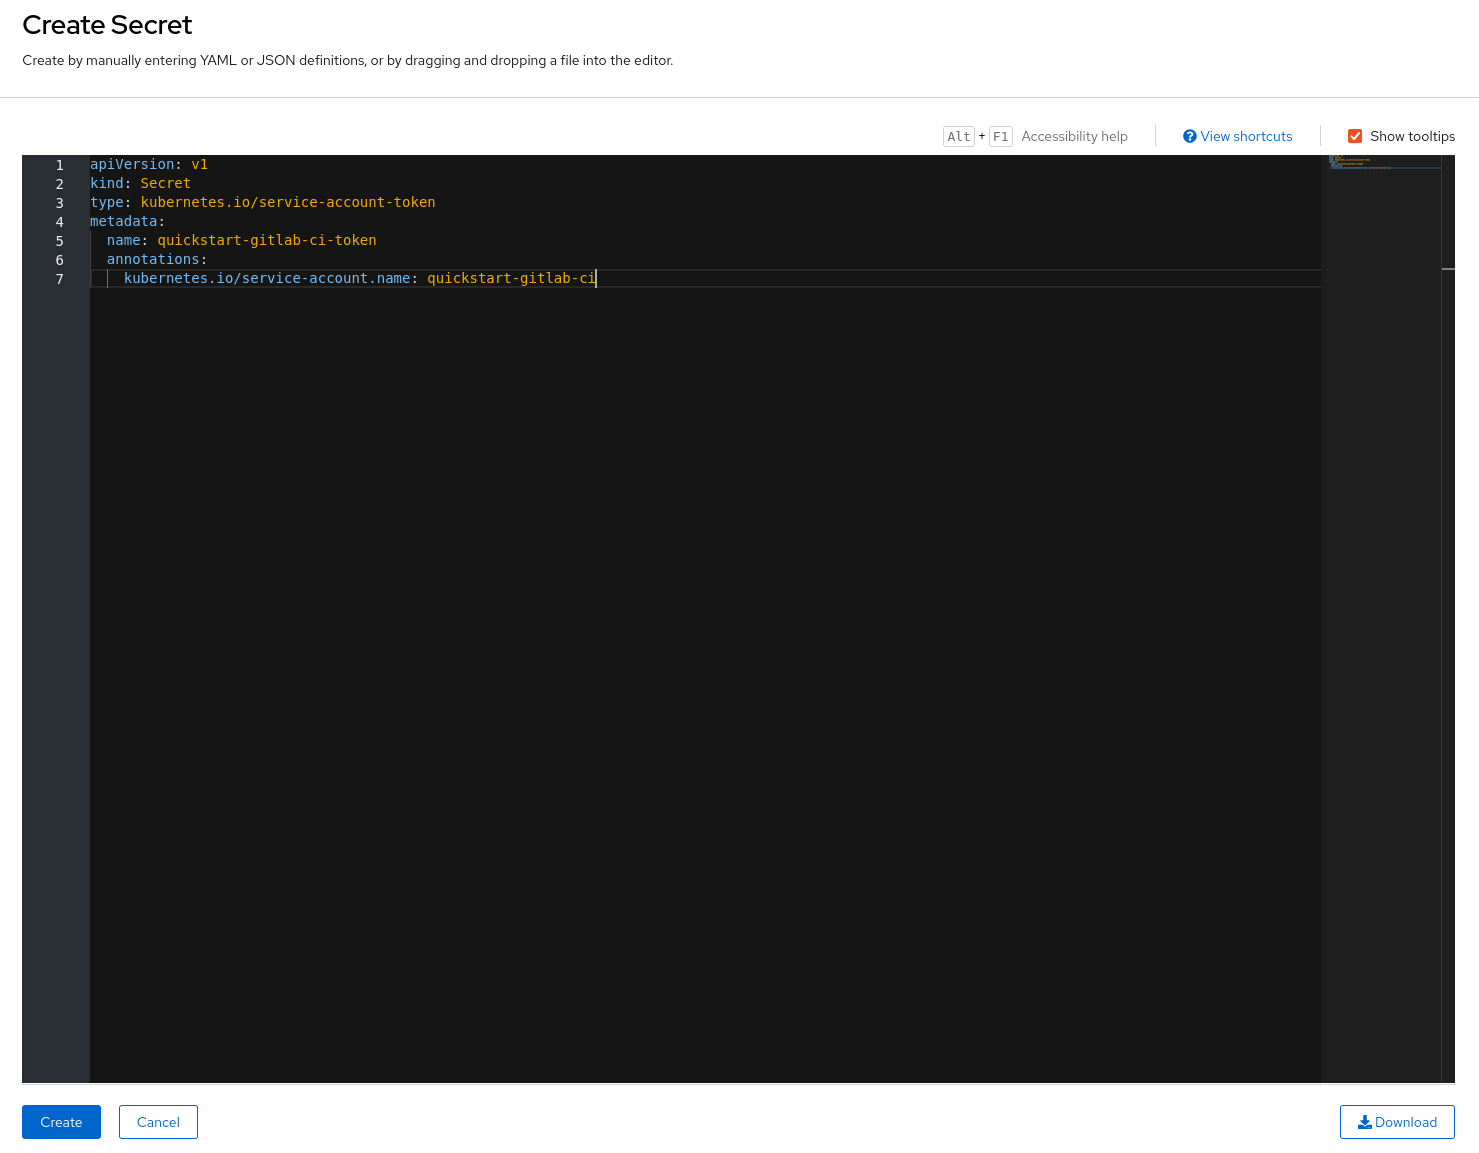
apiVersion: v1
kind: Secret
type: kubernetes.io/service-account-token
metadata:
  name: quickstart-gitlab-ci-token
  annotations:
    kubernetes.io/service-account.name: quickstart-gitlab-ci
You may either create a file (quickstart-token.yaml for instance) with this content, then do oc apply -f quickstart-token.yaml, or pass it directly from stdin :
cat <<EOF | oc create -f -
apiVersion: v1
kind: Secret
type: kubernetes.io/service-account-token
metadata:
  name: quickstart-gitlab-ci-token
  annotations:
    kubernetes.io/service-account.name: quickstart-gitlab-ci-token
EOF
You will then be able to retrieve the token value using :
Using the WebUI
Here too, you will need to create the resource from a YAML file :
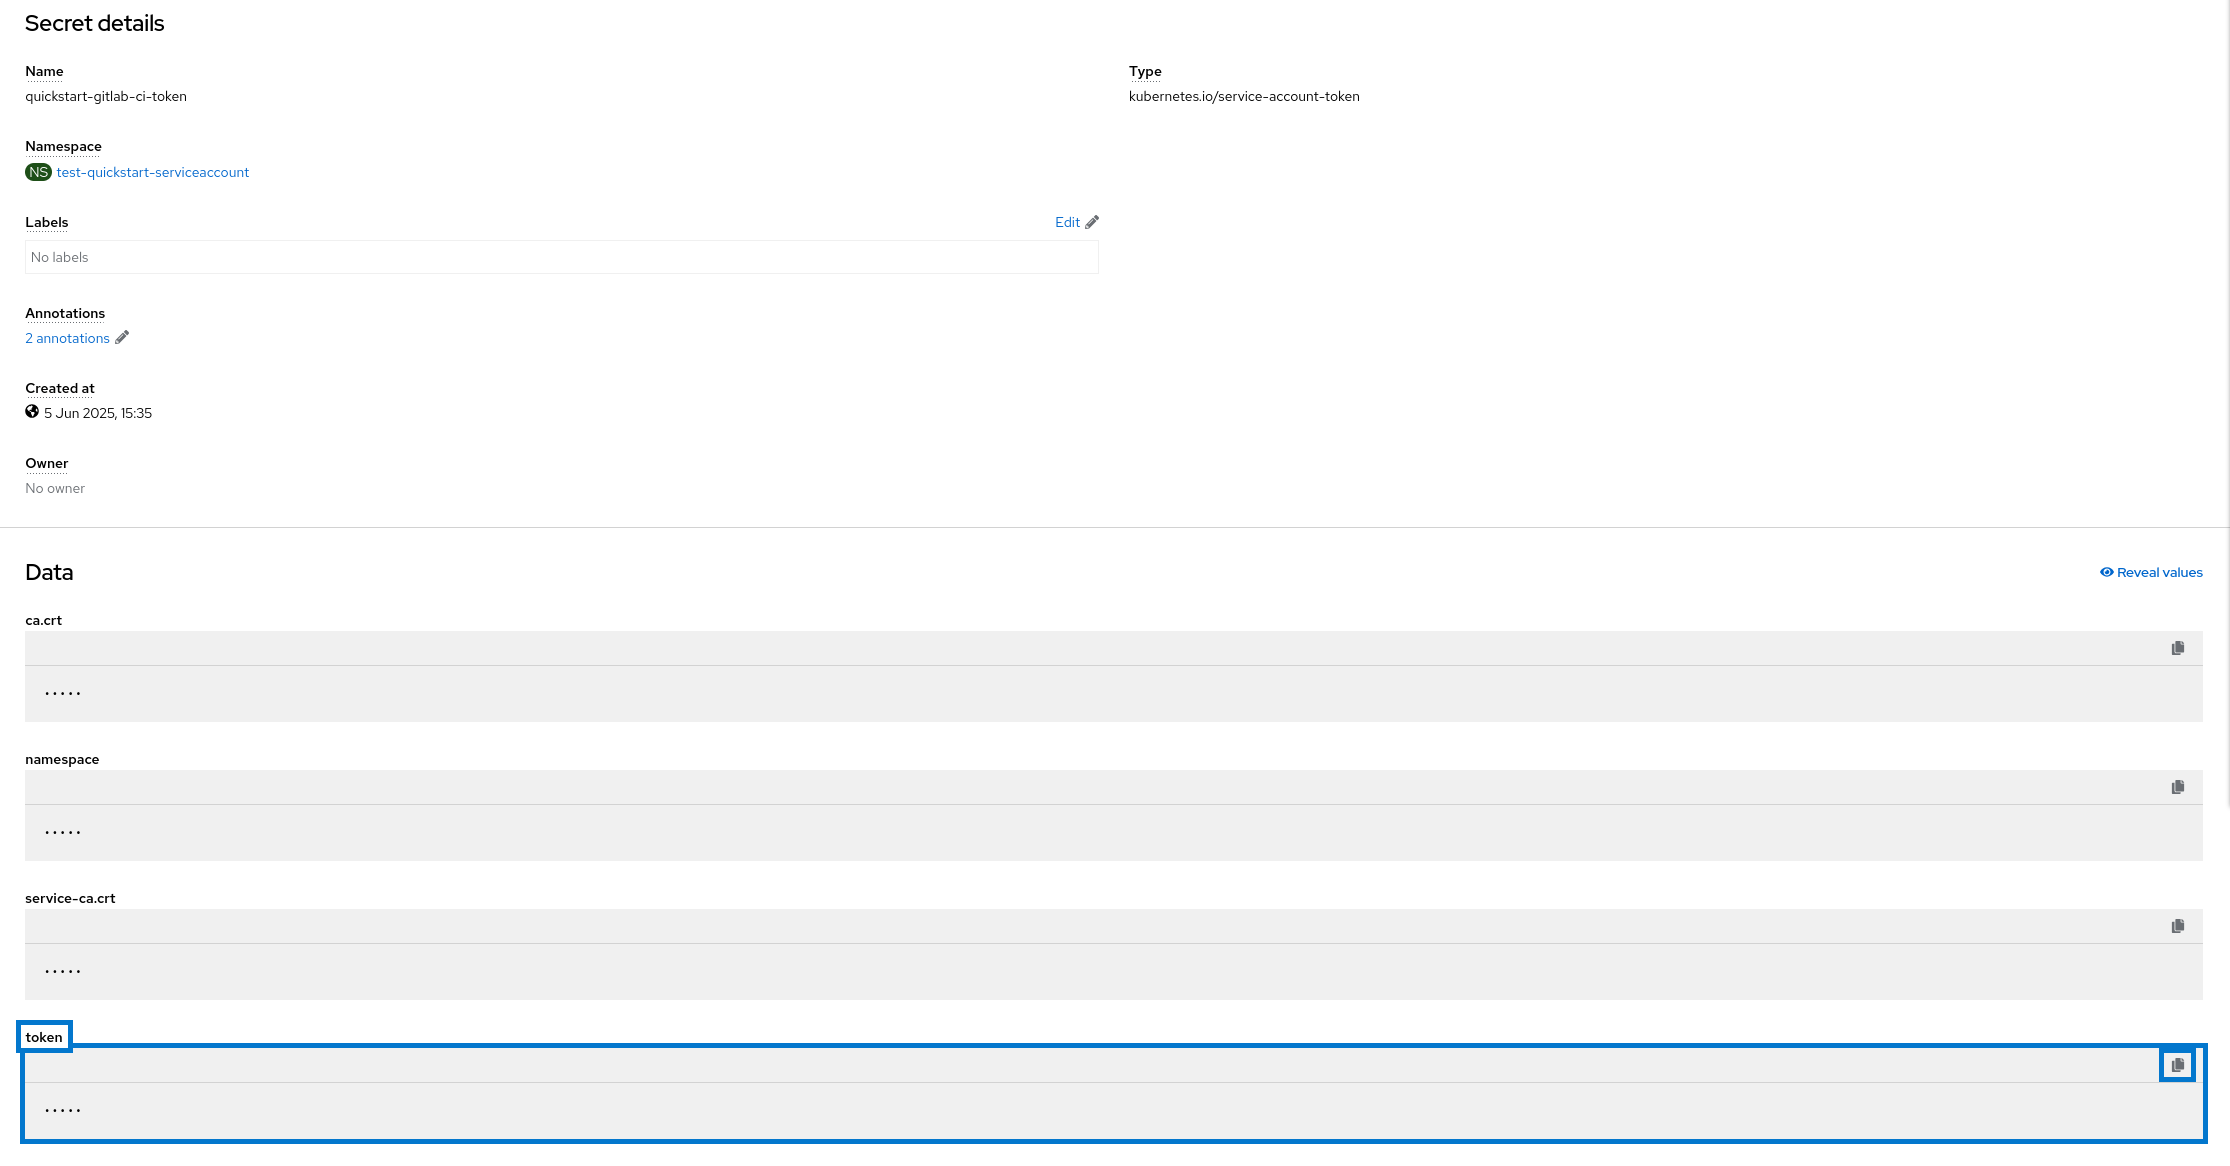
Once done, you can access the token value in the data field token.
RoleBinding
Using the token you’ve created, you may access WoK. However, you will quickly come to realize this doesn’t help much :
$ oc get pods
Error from server (Forbidden): pods is forbidden: User "system:serviceaccount:test-quickstart-serviceaccount:quickstart-gitlab-ci" cannot list resource "pods" in API group "" in the namespace "default"
$ oc project test-quickstart-serviceaccount
error: You are not a member of project "test-quickstart-serviceaccount".
You are not a member of any projects. You can request a project to be created with the 'new-project' command.
To see projects on another server, pass '--server=<server>'.
Indeed, the ServiceAccount you’ve just created is bound to no Role. It has no permission, and while it can connect to the Kubernetes API, it may perform no further action. Reading or creating resources is forbidden by default on OKD !
A ClusterRole need to be assigned, one which can effectively modify the resources of the namespace.
Using the CLI
oc create rolebinding edit --clusterrole edit --serviceaccount <namespace name>:quickstart-gitlab-ci
Using the WebUI
Go to the RoleBindings page of your project, and fill out the following form :
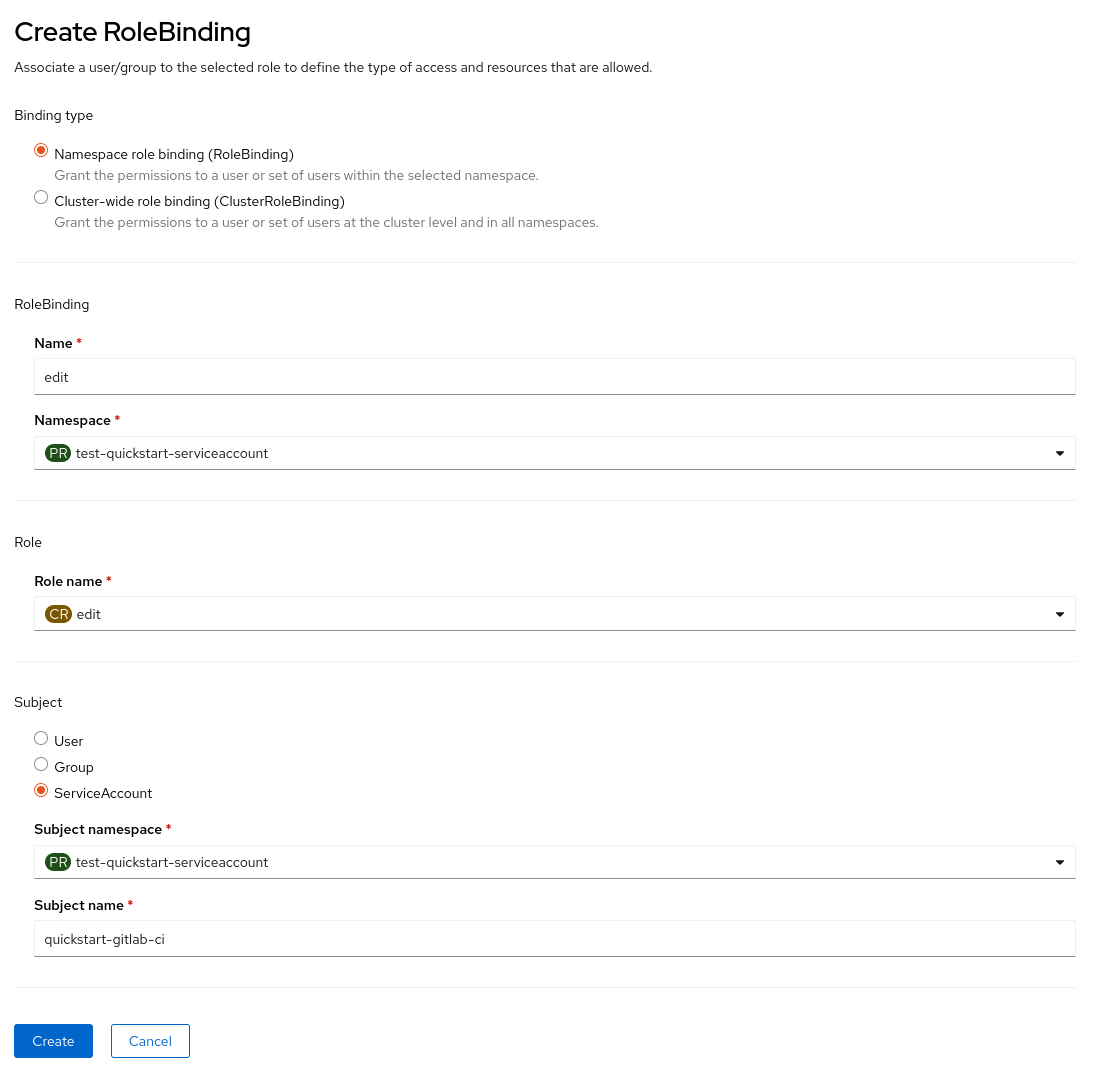
You will then be able to interact with Kubernetes resources !